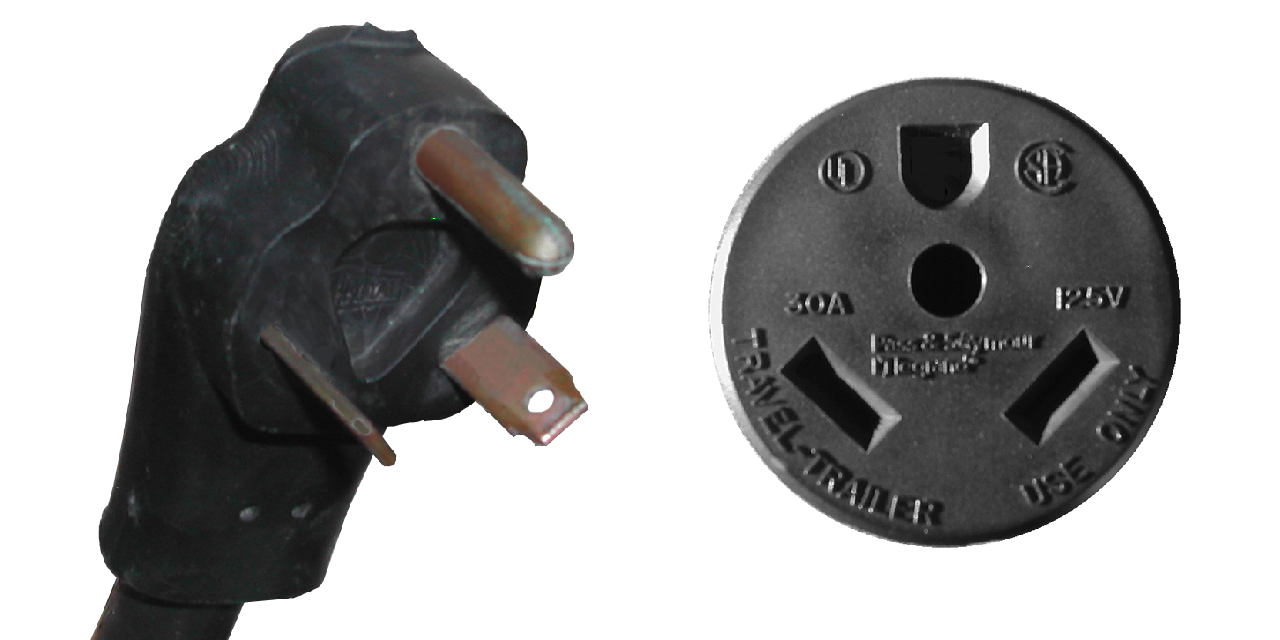
After the air system was in, and I knew the locations of the air lines and accouterments, I could run the electrical lines. A good friend of ours had let us salvage parts from a 1970’s vintage RV trailer, and from that I was able to get some electrical components, the two important ones for this were the 10 gauge 25′ power cord and the 30 amp circuit breaker box. The box had a 30 amp main switch, and three additional 20 amp breakers. The only odd thing was that the 30 amp plug

on the end of the power cord had been replaced with a 15/20 amp plug meaning that the power coming into the bus was limited to 20 amps (so far).

One of the critical things that I learned on our Sprague Brook trip is that getting the power inside the bus proper is very important. And having a roll of 25′ of three-ply 10 gauge stranded wire to connect to a power outlet outside the bus is no small thing to mount in a secure location.
I decided that the wire would coil in the empty area of the battery box on the port side of the bus, and thus would have to come up through the floor just by the heater box inside the bus compartment (right by the captain’s chair). As with the soft air line, this needed to be protected from the sharp edge of the metal floor, where the vibration and movement of the floor while the bus is in motion could cut the insulation and wires, producing a dangerous short or a ‘hot skin’ condition of the bus, which is where the metal skin and frame carry the 120 volt AC current, and anyone touching it completes the circuit (Zap!).
I wanted to keep the 10 gauge wire, though, as the smaller the gauge, the less electrical energy is lost getting from the plug to the outlet, and it turned out that the ~1/2″ cable fit just inside a 3/4″ compression connector (for an electrical box to connect to a rigid chase pipe) that I had acquired as a “bit”. once I had double checked that the hole I was going to drill would come out in the battery box, I slid the compression connector down into the hole and screwed it down tight (leaving the unneeded compression fitting off), and it produced a perfect safety barrier against the sheet metal flooring.

After the connector was fitted, I ran the wire through it, attached a new 15/20 amp plug, and then set up the breaker box. I decided to put it just behind the captain’s chair, as it wouldn’t be of any use while the bus was in motion, and was conveniently located by the battery box and the seat where I would be storing the house batteries.

The box has a 30 amp main, and three 20 amp feed breakers. I attached the power cable to the main, and ran one of the 20 amp breakers to outlets behind the captain’s chair and another in the ‘closet’ area behind the wet-wall for the bathroom.

Another of the breakers was dedicated to a Magnatek Model 3240 power converter. This is a unit that takes 120 volt AC input and converts it to 12 volt DC current. it can be hooked up to 12 volt batteries and has an automatic switch to detect the AC power, and switch to battery power when the AC is disconnected, and vice versa, without cutting power to the attached 12 volt appliances.

I had picked this up when I got our fridge (a forthcoming post) and the guy threw it in for a very small amount, which on the one hand is great, since we needed something like this, and on the other hand is annoying, since it was an ‘as is’ purchase and it turned out the battery charging element wasn’t working. At any rate, the converter is a simple affair, using regular automotive ‘knife-style’ fuses, and having both filtered and unfiltered DC outputs (filtered is for sensitive electronics, like the radio). One of these I set up to go to the radio/tape deck, so that the clock would stay running and I could listen to music while the bus wasn’t on, and another I would run off to the DC connection for the fridge. Others would be for lighting and appliances like the water pump and water heater, but those will come later and be run through a DC breaker box which isn’t in place yet.
More on this in Electrics (Part II)

