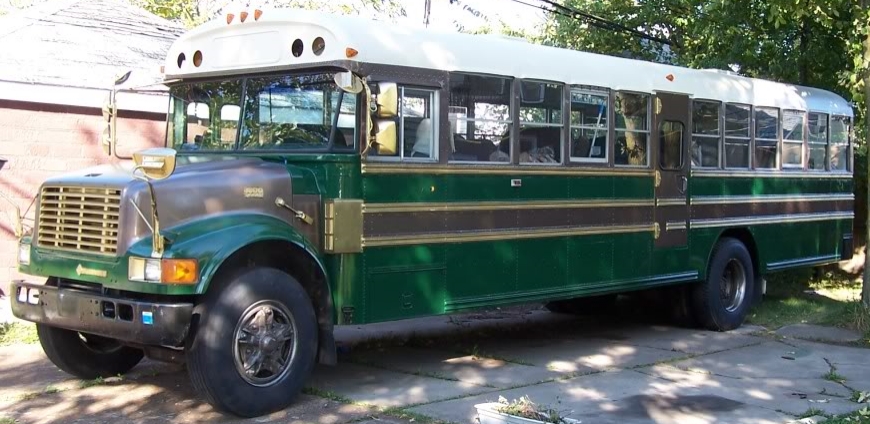
(Please note: The title of this post in no way connotates that anyone lost their skin to cover the windows in the bus. 😉 )
I noticed that the pictures of the installation of the subfloor showed several windows which had been ‘skinned’, and realized that I missed the description of those in my timeline, so here goes.
I had hoped that all the walls that I was going to put into the bus would correspond with one of the ribs of the body’s structure – the 1 1/2 x 2 inch steel supports which produce the ‘roll cage’ effect of the body. These are, of course, the sturdiest parts of the body, and are where the sheet steel of the ceiling and wall panels attach. But, when it came to laying things out, it just wasn’t to be. The seats for the forward cabin area needed leg room, but too much would make the bathroom area really cramped, especially if we wanted to be able to use the side emergency door. And if I wanted to have an accessible wet wall behind the shower, and some storage area for a pantry, I couldn’t very well have that eat into the bunks. And nobody would want to look at the back of the refrigerator, and it would need venting and airflow to work properly.
All that said, I knew that we would have to lose some windows. My choice of which ones was aided by the accidental breaking of one while loading all the old seats I’d removed back into the bus for transport. One support went off-balance just a little and the steel foot slammed into the window, shattering it, but leaving the glass shards intact between the plastic laminate (Huzzah for safety glass!). In order to do this, you have to remove the window, which actually isn’t hard on a Blue Bird body like ours. Six screws and some pulling/levering in toward the interior and it’s done.
Some people stop there, bending the steel or aluminum sheeting and screwing it to the steel support ribs, or using angle brackets to do the same. I chose not to do that, since I wanted to be sure that the metal wouldn’t flex, and that we could add insulation to help more with noise and heat/cold.
If you look back to the floorplan I posted before, you might note that three of the windows are in black as opposed to grey or red. Those are the ones that needed to be skinned, and you can see why – either there are walls that go across them, or a fridge.
 |
| Oh! There it is … |
So, the first step was to take the window frames and remove the glass. Now, the frames are aluminum and they are screwed together, so this was actually far easier than I had expected it to be. On the outside of these I put 16 gauge steel that was painted green on the outside and brown on the inside (just because I had the brown to use). The steel was screwed to the aluminum frame right on the edges of the frame where it would be hidden by the outside steel of the window supports, but inside the raised lip that helped to seal the windows in tight. The paint on the outside made them match the rest of the green on the bus, but on the inside it was just to avoid future rust. Next went in 1″ thick pink polystyrene insulation, with some ‘Great Stuff’ expanding foam to fill the gaps and keep the polystyrene from sliding about or squeaking, and then some nice, 1/2″ pressure-treated plywood filled in the rest of the window area, and that was screwed to the aluminum frame.
This gave me (potentially removable or swapable with most other windows on the bus) skins that didn’t need any special treatment to get them to fit in the window spaces. A quick, generous bead of silicone sealant went on the raised ridge of the window supports of the bus and in went the skinned windows.
And they look like this from the outside …
And like this from the inside, if you can see past the wall studs (which we haven’t go to yet) …


