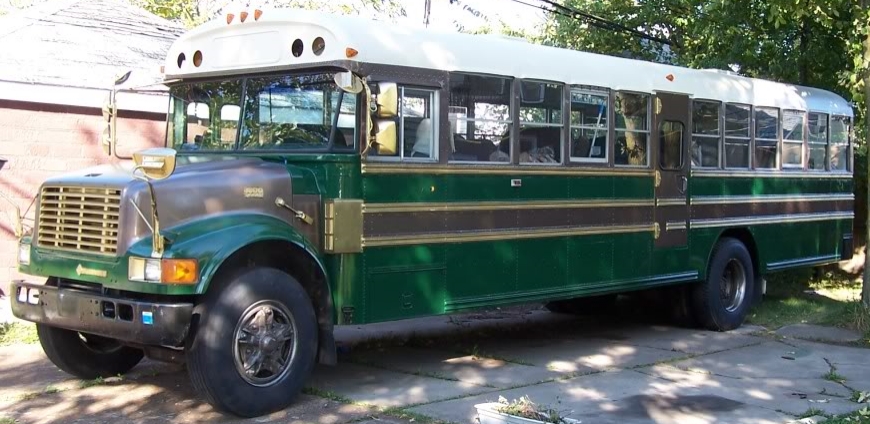
One of the things that’s super important in building a skoolie is to use your space wisely. We really worked to figure out our floor plan, and even that has changed as we’ve learned through trial, error, and working in the space we have. One of the obvious changes is that we’ve eliminated the plan for the door between the galley and the bunks, and the other door and wall between the bunks and the ‘master’ bedroom area, which gives a more open, light- and air-filled space in the back.

But one of the things you just can’t change are those wheelwells. Well, I say that and I know there are people who cut them down, but I worry about bumps and the tires having enough travelspace, so that’s not an option for us, at least.

The driver’s side wheelwell was nicely covered by the bunks, leaving about 14 inches of space for underbunk drawers, but the passenger side one was only partially covered by the fridge, so I had built a framework to provide a flat space over it. It took a while to get a piece of plywood on there, so the curved space with 2×3’s making a cage was a sort of catch-all space for small items to go so they wouldn’t slide around, while bigger items (like our water-cooler or folding chairs) could sit atop the cage and be bungee-secured to the wall along the fridge. (Not surprisingly, I don’t have many pictures of this.)
With some 1/2″ plywood atop the cage, the now-platform sat just below the seat-rail, some 19″ below the window. My plan was to put in drawers, and after some discussion, we settled on two big drawers, rather than three or four smaller ones. But without the little wall between the bunks and ‘master’ bedroom, there was actually some work-space possible, instead of just space to tuck things in, or stand off to the side so someone could get by. In order to use that space, I decided to put in a ‘hidden’ wing.

The drawers are about 31″ by 23″ and just about 7 3/4″ deep. The top surface, with the wing closed, is about 33×24″, covering the space over the wheelwell, and bringing it up flush with the base of the window.

While the main ‘dresser’ portion of this rests just over the platform and cage that surrounds the wheelwell, and the sides of the carcass are plywood (oak-faced in the aft-side), the raised panel side that faces aft runs all the way from the floor to the base of the windows, helping to hide the evidence of the wheelwell.

The raised-panel section houses two things – first, the threaded eyes that allow us to attach a bungee and strap in the folding chairs (and perhaps other things) just like we had done on the platform. The second is the angled bit that some of you may have noticed in the picture. It’s hinged with a couple of small steel pins to swing out and become a support for the wing! A magnet set into the wing and #10 woodscrew in the side of the ‘dresser’ keeps it in place when not in use, and the fact that it’s only rounded on one side of the back allows it to swing, and stop when it’s perpendicular to the dresser.

The wing itself is some 3/4″ oak-faced plywood with some 1/4″ oak facing around the sides to hide the layers. I put in a flat-fold brass finger-pull ring, so that it could be folded out or, conversely, left nice and flat depending on what we wanted to do. The wing fits in really tightly into the surface of the dresser, making it almost hidden. Some brass middle hinges allow it to flip out into place.
This allows for a chair to be placed behind it and voila, a workspace with handy windows, and it’s out of the travel-lane. When the awning it out, the emergency window can be propped open and even allow that wing to be accessed from outside (if you’re tall enough, that is).
A thing that could be overlooked in this is the fact that I’ve left the wall between the dresser and the fridge unfinished. Granted, there’s a lot of unfinished in the bus, but this was actually intentional. The space provided in the wall cavity serves as a perfect storage spot for long thin things, like our axe and hatchet (with the heads resting on the dresser surface), fire-tending equipment, supports for holding the emergency windows open, sticks for marshmallows, and a kid-sized cricket set (because of course we do).
We’ve just used this on a shakedown camping trip, and it got thumbs-up, so I was a happy camper!


